
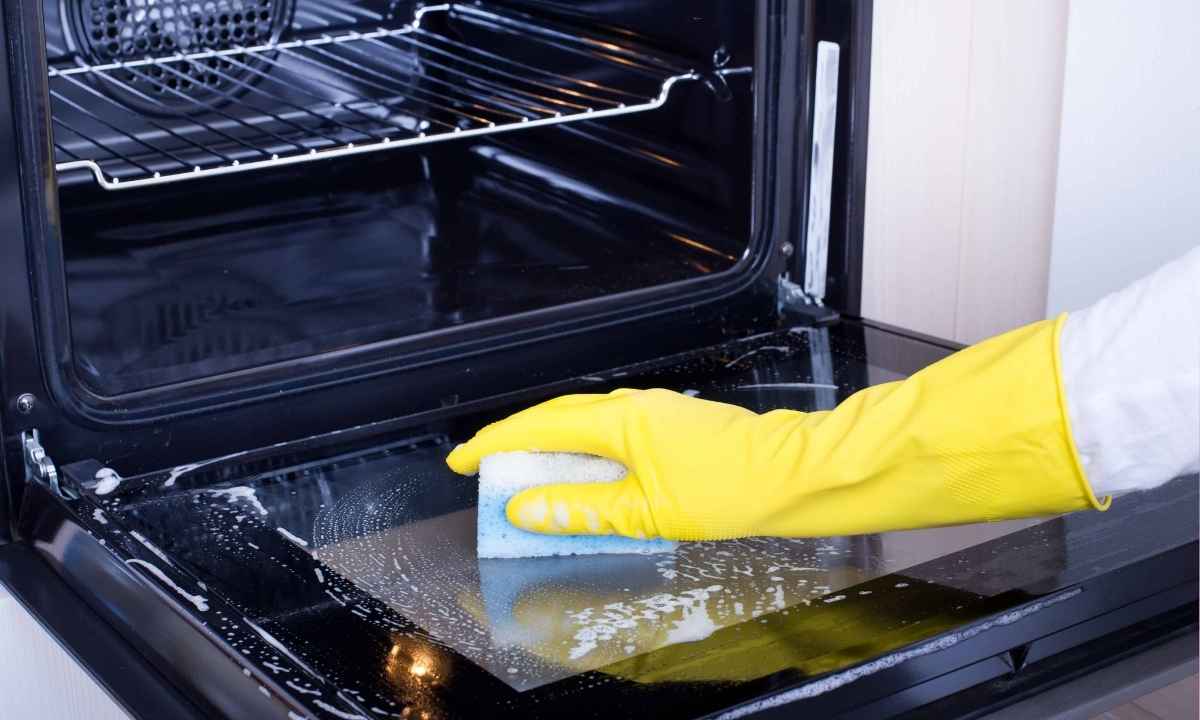
That burnt lasagna from last Tuesday still haunts your oven walls. Grease splatters and baked-on grime make every preheat smell questionable. But achieving a spotless oven doesn’t require toxic chemicals or professional help.
This guide shows you how to clean an oven using simple household ingredients. You’ll discover natural methods that actually work, plus time-saving tricks for maintaining that fresh-from-the-factory shine.
Step-by-Step: How to Clean an Oven
This proven method tackles moderate to heavy buildup. It uses common household ingredients you already own. Total time spans 12-24 hours, but active work takes just 30-45 minutes.
1. Gather Your Cleaning Supplies
You need minimal supplies for this natural approach.
Essential ingredients:
- Baking soda (1/2 cup minimum)
- White vinegar (spray bottle recommended)
- Dish soap (Dawn works great)
- Warm water
Required tools:
- Rubber gloves
- Microfiber cloths or old rags
- Plastic scraper
- Small mixing bowl
- Spray bottle
- Old toothbrush for corners
Everything costs under $10 total. Any grocery store carries these basics.
2. Remove Oven Racks and Loose Debris
Turn off your oven completely first. Wait until it reaches room temperature before touching anything inside. Pull out all removable racks and trays carefully.
Use a dry cloth to sweep loose crumbs from the bottom. Check under heating elements for hidden debris. Remove your oven thermometer if present. Set racks aside for separate cleaning later.
Skipping debris removal creates muddy paste during application. That makes wiping exponentially harder.
3. Make a Baking Soda Cleaning Paste
The perfect ratio matters here. Mix 1/2 cup baking soda with 3 tablespoons water in your small bowl. Stir until you achieve a spreadable consistency resembling thick yogurt.
Add water gradually because thinning paste is easier than thickening it. Double the batch for extremely dirty ovens or larger models.
Baking soda’s mild alkaline properties cut through acidic grease naturally. It’s completely non-toxic and food-safe. The gentle abrasive action lifts baked-on residue without scratching enamel surfaces.
4. Apply Paste Inside the Oven
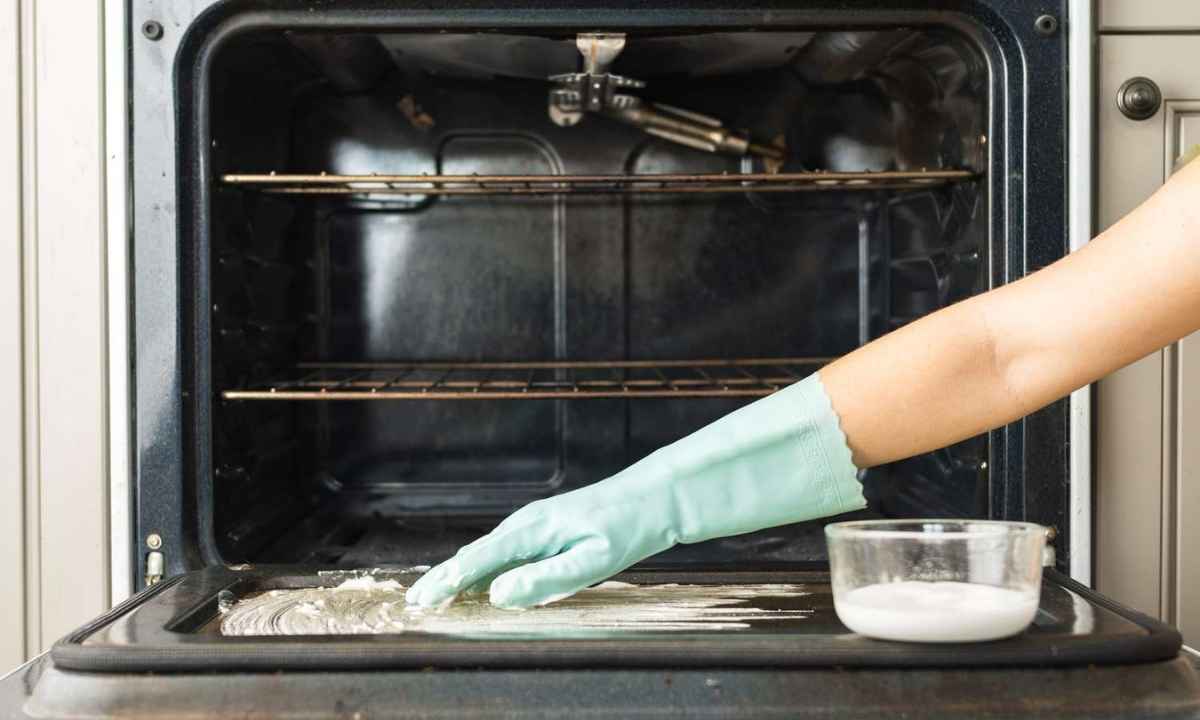
Put on rubber gloves before starting. Spread paste generously over all interior surfaces using your hands or a spatula. Cover walls, bottom, top, and the door thoroughly. Avoid coating heating elements and gas openings entirely. Use extra paste on stubborn brown spots. Don’t worry about applying too much.
Let the paste sit for 12 hours minimum. Overnight works perfectly for most ovens. Extremely dirty ones benefit from a full 24-hour wait. The paste will dry and turn brownish as it absorbs grease. This waiting period allows baking soda to break down grease bonds. Time enables deep penetration into stubborn grime layers.
5. Clean the Oven Racks Separately
Line your bathtub with old towels first. Place racks in the tub carefully to avoid scratching porcelain. Cover them completely with hot water and add 1/2 cup dish soap.
Let racks soak 4-12 hours or overnight for best results. Scrub with a non-scratch sponge afterward. Rinse thoroughly and dry completely before reinstalling.
No bathtub? Try these alternatives:
- Large trash bag with ammonia (outdoor use only)
- Sink cleaning for smaller racks
- Outdoor hose scrubbing in warm weather
- Commercial oven rack cleaner bags
Dryer sheets actually dissolve baked-on grime effectively. It sounds weird but works remarkably well.
6. Wipe Out the Baking Soda
Dampen a cloth with warm water. Wipe out the dried baking soda thoroughly using systematic strokes. Work from top to bottom for efficiency. Use your plastic scraper for stubborn chunks that resist wiping. Rinse your cloth frequently during this process. Multiple passes are usually necessary for complete removal.
The paste turns brown from absorbed grease and carbon. Your oven surface appears noticeably lighter immediately. Some residue may remain, which is completely normal. Change your water when it gets murky. An old toothbrush reaches tight corners effectively.
7. Spray Vinegar for Final Cleaning
Fill your spray bottle with white vinegar. Spray generously over any remaining baking soda residue. Watch the magical foaming reaction happen instantly.
This chemical reaction between acid and base lifts the final grease layer. The CO2 bubbles created during foaming dislodge remaining debris naturally. Acetic acid in vinegar provides natural degreasing power.
Wait 5-10 minutes for the reaction to complete. Wipe clean with a damp cloth. Repeat if white residue persists. Finish with a final wipe using clean water. The vinegar smell dissipates quickly. Leave your oven door open for faster evaporation. It beats chemical cleaner fumes significantly.
8. Clean the Oven Door Glass
Exterior glass cleans easily with standard glass cleaner. Wipe with a microfiber cloth and buff to a streak-free shine.
Interior glass requires the baking soda paste method. Apply paste and wait 20 minutes. Scrub gently with a non-scratch pad. A razor blade removes stubborn spots when used carefully.
Some models allow door disassembly for between-glass cleaning. Check your manual for specific instructions. Usually involves removing bottom screws and lifting the inner glass out carefully. Never use abrasive cleaners on glass surfaces. Scratches are permanent and expensive to fix.
9. Reassemble and Dry
Wipe all surfaces one final time thoroughly. Ensure no cleaning residue remains anywhere inside. Check corners and crevices carefully under good lighting.
Dry the interior with a clean towel. Leave the door open 30-60 minutes for complete air drying. Ensure racks are completely dry before sliding them back into original positions.
Run your empty oven at 300°F for 15 minutes before first use. This burns off any residual cleaning solution safely. Ventilate your kitchen during this process.
Quick Cleaning Tips
Smart habits keep your oven cleaner for longer periods.
Prevention strategies that work:
- Use heat-safe silicone oven liners on the bottom
- Cover dishes prone to bubbling over
- Wipe spills while oven is slightly warm
- Monthly maintenance prevents major buildup
Time-saving hacks:
- Clean racks every 3 months minimum
- Baking soda paste works on stovetops too
- Some oven racks are dishwasher-safe (check manual)
- Bar Keeper’s Friend tackles stubborn stains
Light users should deep clean every 3-4 months. Regular bakers need cleaning every 6-8 weeks. Heavy users benefit from monthly deep cleaning sessions.
DIY cleaning saves $75-150 per professional service. Maintained ovens last 3-5 years longer than neglected ones.
Fast Method (30-Minute Light Cleaning)
Don’t have 12 hours? This abbreviated approach tackles light grime effectively. Perfect for monthly maintenance between deep cleans. Use when you have light splatter and grease without major baked-on residue.
Make a thinner baking soda paste. Apply to problem areas only, not the entire interior. Wait just 15-20 minutes instead of overnight. Spray with soapy water and wipe thoroughly. Finish with vinegar spray to remove soap residue.
This method removes surface grime and light grease efficiently. It won’t eliminate heavy baked-on carbon deposits. But it freshens oven smell significantly and buys time before deep cleaning becomes necessary.
What to Avoid
Certain mistakes damage ovens permanently or create serious safety hazards.
Never use these products:
- Oven cleaner on self-cleaning ovens (damages protective coating)
- Bleach mixtures (creates toxic fumes)
- Ammonia in poorly ventilated spaces (respiratory hazard)
- Commercial cleaners on heating elements (fire risk)
- Abrasive powders (scratch enamel permanently)
Avoid these techniques:
- Steel wool on enamel surfaces
- Scraping with metal tools
- Excessive water near electrical components
- Cleaning while oven is hot
- Placing foil directly on oven floor
Self-cleaning cycle mistakes include using it during summer heat, leaving racks inside, and not ventilating properly. Using the feature too frequently wears out your oven faster than necessary.
Repairs cost $150-400 on average. Some damage proves irreversible. Manufacturer warranties have strict conditions about improper cleaning methods.
Final Tip
Consistency beats intensity every single time here. A spotless oven doesn’t require marathon sessions. Set a reminder every 6-8 weeks and tackle buildup before it overwhelms you. Wipe spills immediately after cooling.
Run the quick 30-minute method monthly. Deep clean quarterly using our baking soda approach. Your oven works hard for you with Sunday roasts and holiday turkeys. Return the favor with proper care and attention.