
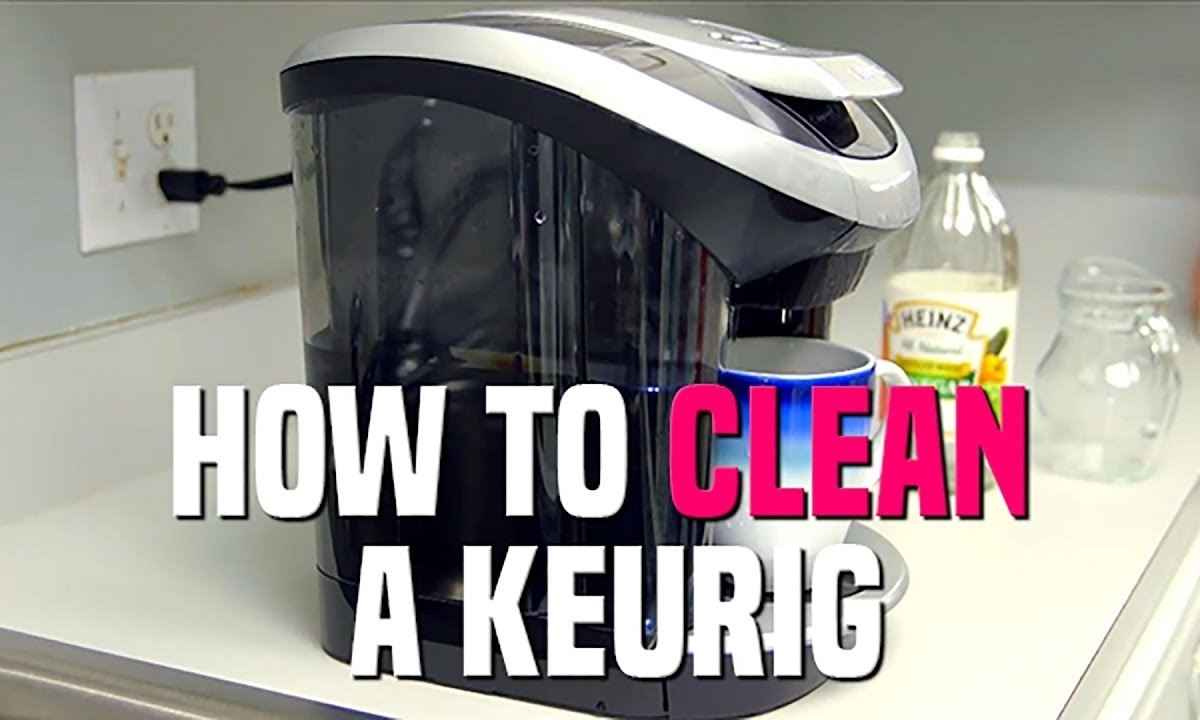
Your Keurig works hard every morning. But here is the thing most people overlook: that machine is silently collecting mineral buildup, coffee oils, and yes, sometimes mold. A dirty Keurig brews weaker coffee, runs slower, and can even make you sick.
This step-by-step guide covers everything you need to know about cleaning a Keurig the right way, so every cup tastes as fresh as the first.
Why You Should Clean Your Keurig Regularly
Most people wipe down the outside and call it done. That is not cleaning. That is cosmetic. Inside your machine, calcium and limescale from tap water build up over time and clog the internal tubes. Coffee oils go rancid and coat the brewing chamber. The water reservoir, sitting warm and damp, becomes a perfect home for mold and bacteria.
A 2011 NSF International study found that coffee makers ranked among the top 10 germiest places in the average American home. That stat still holds up. Regular Keurig maintenance is not optional if you care about taste and health.
How to Clean a Keurig with Vinegar
White vinegar is cheap, effective, and already in most kitchens. Its acetic acid cuts through limescale without damaging internal parts. Here is what you need before you start:
- White distilled vinegar
- Fresh water
- A large mug
- A clean cloth or paper towel
Descaling Process Explained
Descaling is the most important part of any Keurig deep clean. Follow these steps carefully.
- Power off the machine and remove any K-Cup
- Empty the water reservoir completely
- Fill it with a 50/50 mix of white vinegar and water
- Run full brew cycles into a mug until the “Add Water” light comes on
- Let the machine sit for 30 to 60 minutes (most people skip this and wonder why scaling returns fast)
- Empty the mug and run two to three full reservoirs of clean water through the machine
- Brew one final plain water cycle to confirm no vinegar smell remains
That resting period in step five is where the real descaling happens. The vinegar solution sits inside the internal tubes and breaks down stubborn mineral deposits. Do not rush it.
How to Clean Keurig Needle and Parts
The needle is tiny but it causes big problems when clogged. Your Keurig actually has two needles: one on top that punctures the K-Cup lid and one on the bottom. Both collect coffee grounds and dried residue over time.
You will need either Keurig’s official cleaning tool or a straightened paper clip.
- Unplug the machine first
- Open the pod holder and locate both needles
- Gently insert the cleaning tool into each needle hole
- Move in small circles to loosen debris
- Rinse the pod holder under warm water
- Wipe the needle area with a damp cloth
- Plug back in and run a water-only brew cycle
Also clean these parts weekly:
| Part | Cleaning Method | Frequency |
| Drip tray | Remove, rinse, wipe dry | Weekly |
| K-Cup holder | Warm soapy water rinse | Weekly |
| Exterior | Damp microfiber cloth | After each use |
| Water reservoir lid | Wipe inside and out | Weekly |
How Often Should You Clean a Keurig?
Here is a cleaning schedule that works for most American households:
| Task | How Often |
| Wipe exterior and drip tray | Daily |
| Rinse water reservoir | Every 2 to 3 days |
| Wash removable parts | Weekly |
| Clean the needle | Monthly |
| Descale with vinegar or solution | Every 3 to 6 months |
| Full deep clean | Every 6 months |
If you live in a hard water state like Texas, Arizona, or Illinois, descale closer to every three months. Hard water accelerates mineral buildup dramatically. You can check your local water hardness at EPA’s water quality tool.
Common Keurig Cleaning Mistakes to Avoid
These mistakes are more common than you think. Using apple cider vinegar instead of white vinegar leaves behind a sticky residue and a smell that never fully goes away. Skipping the soak time during descaling means the vinegar barely touches deep mineral buildup. Not rinsing thoroughly enough leaves a vinegar taste in your coffee for days.
Another big one: washing the water reservoir with harsh dish soap. Soap residue clings to the plastic and affects every cup you brew afterward. Always use a tiny amount of mild soap and rinse several times.
How to Descale a Keurig Without Vinegar
Not everyone can tolerate the smell of vinegar running through their kitchen. Fortunately, you have solid alternatives.
| Method | Cost | Effectiveness | Smell |
| White Vinegar | Low | High | Strong |
| Keurig Descaling Solution | Medium | Highest | None |
| Citric Acid | Low | High | None |
| Lemon Juice | Low | Moderate | Pleasant |
Keurig’s official descaling solution is available at Amazon, Target, and Walmart. It is odorless and formulated specifically for Keurig machines. Citric acid mixed at one tablespoon per four cups of water is a food-safe option that works nearly as well at a fraction of the cost.
How to Clean a Keurig Water Reservoir Properly
The reservoir is where neglect really shows. Mold loves sitting water, warm temperatures, and dark plastic walls.
Remove the reservoir, hand wash it with mild soap and a soft bottle brush, rinse it thoroughly, and let it air dry completely before reattaching. Never use bleach or abrasive scrubbers. Never put it in the dishwasher unless your specific Keurig model explicitly allows it.
Watch for these warning signs inside the reservoir:
- Pink or black spots (mold)
- Cloudy water
- A musty smell when you open the lid
Switching to filtered water instead of tap water slows mineral buildup noticeably and keeps the reservoir cleaner between washes. Check model-specific cleaning instructions at Keurig’s support page.
Read More Cleaning Blog : How to Clean Stainless Steel Properly
Signs Your Keurig Needs Deep Cleaning
Your machine will tell you when it needs attention. You just have to know what to listen for.
- Coffee tastes bitter or noticeably weak
- Brewing takes longer than usual
- The machine sputters or gurgles loudly
- Your cup does not fill completely
- The “Descale” indicator light is on
- You notice visible buildup around the reservoir or pod area
- Coffee temperature feels lower than it used to
If three or more of these hit at once, do not wait until the weekend. Clean it today.
Conclusion
Cleaning your Keurig is not complicated but it does require consistency. Descale every three to six months, scrub the needle monthly, and rinse the reservoir every few days. Small habits protect your machine and your coffee quality long term.
A clean Keurig brews better, lasts longer, and keeps every morning running smoothly. Now you have no excuse to put it off any longer.