
Acrylic nails look stunning, but there comes a time when you need them off. Maybe your set has grown out, lifted at the edges, or you simply want a fresh start. A salon visit is the easiest fix, but it is not always possible. The good news is that removing acrylic nails at home is totally doable when you follow the right steps.
This guide covers everything you need, from the tools required to the best removal methods, plus aftercare tips to keep your natural nails healthy and strong.
What You Need Before You Start
Gathering your supplies before you begin makes the whole process smoother. Here is everything you should have ready:
- Pure acetone nail polish remover (not regular nail polish remover)
- Nail clippers
- Coarse nail file or buffer
- Cotton balls or pads
- Aluminum foil cut into small squares
- Petroleum jelly or cuticle oil
- Wooden cuticle pusher or orange stick
- Hand cream or moisturizer
Avoid using regular nail polish remover. It does not contain enough acetone to break down acrylic material properly.
Method 1: Acetone Foil Wrap (Best Method)
This is the most popular and effective way to remove acrylic nails at home without causing damage to the nail bed.
Step 1: Trim and Clip the Nails
Use nail clippers to cut the acrylic nails as short as possible. Shorter nails mean less surface area for the acetone to work through, which speeds up the removal process. Do not clip too close to your natural nail.
Step 2: File Down the Top Layer
Take a coarse nail file and gently buff the shiny top surface of the acrylic. The goal here is to break through the topcoat so acetone can penetrate the acrylic more effectively. File across the entire nail surface but stop before you reach your natural nail. Over-filing is one of the most common mistakes people make during this step.
Step 3: Protect the Skin Around Your Nails
Apply a thin layer of petroleum jelly to the skin around your nails and cuticles. Acetone is a strong solvent and can dry out your skin significantly. This barrier helps protect the surrounding skin from irritation.
Step 4: Soak Cotton and Wrap in Foil
Saturate a small cotton ball or pad with pure acetone. Place it directly over the nail, then wrap the entire finger tightly with a small square of aluminum foil. Repeat this for every nail. Make sure the cotton stays in full contact with the nail surface.
Step 5: Wait 25 to 30 Minutes
Let the acetone do its work. Sit back and relax for at least 25 to 30 minutes. The acrylic will slowly soften and begin to dissolve. Do not rush this step. Trying to peel or force the acrylic off too early is what causes damage to your natural nails.
Step 6: Gently Remove the Acrylic
After the waiting time, remove one foil wrap at a time. The acrylic should look soft, crumbly, or lifted. Use a wooden cuticle pusher or orange stick to gently slide the softened acrylic off the nail. Work from the base toward the tip using slow, gentle strokes. If the acrylic is not coming off easily, rewrap the nail with fresh acetone-soaked cotton for another 10 minutes and try again.
Step 7: Buff and Clean
Once all the acrylic is removed, lightly buff the surface of your natural nails to smooth out any remaining residue. Wash your hands thoroughly with soap and warm water.
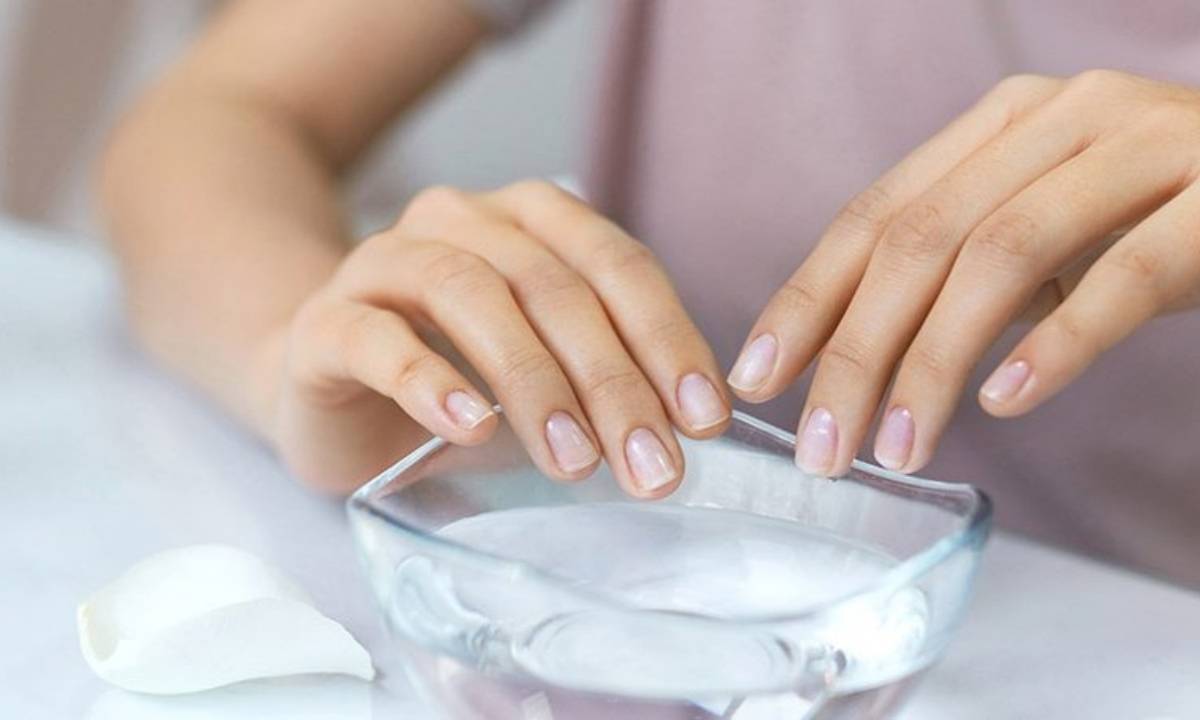
Method 2: Acetone Bowl Soak
This is a quicker alternative if you do not have aluminum foil on hand.
| Step | Action | Time |
| 1 | Trim and file nails | 5 min |
| 2 | Pour pure acetone into a bowl | 1 min |
| 3 | Submerge fingertips in acetone | 30 to 40 min |
| 4 | Remove softened acrylic with cuticle pusher | 10 min |
| 5 | Wash hands and moisturize | 5 min |
One thing to keep in mind: do not warm acetone on a stove or microwave. It is highly flammable. If you want to speed up absorption, run the sealed bottle under warm tap water before using it.
Must Read: How to Check for Throat Cancer at Home
Method 3: Warm Soapy Water (No Acetone Option)
If you want to avoid acetone completely, this method works but requires more time and patience.
- Fill a bowl with warm water and add a few drops of liquid soap.
- Soak your nails for 30 to 40 minutes.
- As the acrylic begins to soften and lift at the edges, use a cuticle pusher to gently ease it away from the natural nail.
- If needed, soak for another 10 to 15 minutes.
This method is gentler on the skin but is less effective on thicker or older acrylic sets.
What NOT to Do When Removing Acrylic Nails
This is just as important as knowing what to do. Avoid these common mistakes:
- Do not peel or force the acrylic off. This rips layers off your natural nail plate.
- Do not bite the acrylics off. This causes serious nail damage.
- Do not skip the filing step. Acetone cannot penetrate un-filed acrylic properly.
- Do not use scissors or sharp tools to pry the nail off.
- Do not rush the soaking process. Patience protects your nails.
Post-Removal Nail Care
After removing acrylics, your natural nails may feel thin, dry, or sensitive. This is completely normal. Here is how to bring them back to health:
Apply cuticle oil generously around the nail bed and massage it in daily. Use a nourishing hand cream to restore moisture to your skin. Consider applying a nail strengthener or hardener for the first few weeks. Avoid applying another set of acrylics immediately. Give your nails at least one to two weeks to breathe and recover. Keep your nails trimmed short while they regrow to prevent breakage.
Acetone Soak vs. Warm Water: Quick Comparison
| Factor | Acetone Method | Warm Soapy Water |
| Effectiveness | Very High | Moderate |
| Time Required | 25 to 40 min | 40 to 60 min |
| Skin Dryness | High | Low |
| Ease of Use | Easy | Easy |
| Best For | All acrylic types | Thin or older sets |
Conclusion
Removing acrylic nails at home is safe, affordable, and straightforward when you use the right method. The acetone foil wrap technique is the most reliable option for a damage-free removal experience.
Always be patient, never force the acrylic off, and make nail aftercare a priority once the process is done. Your natural nails will bounce back with the right care and a little time.