
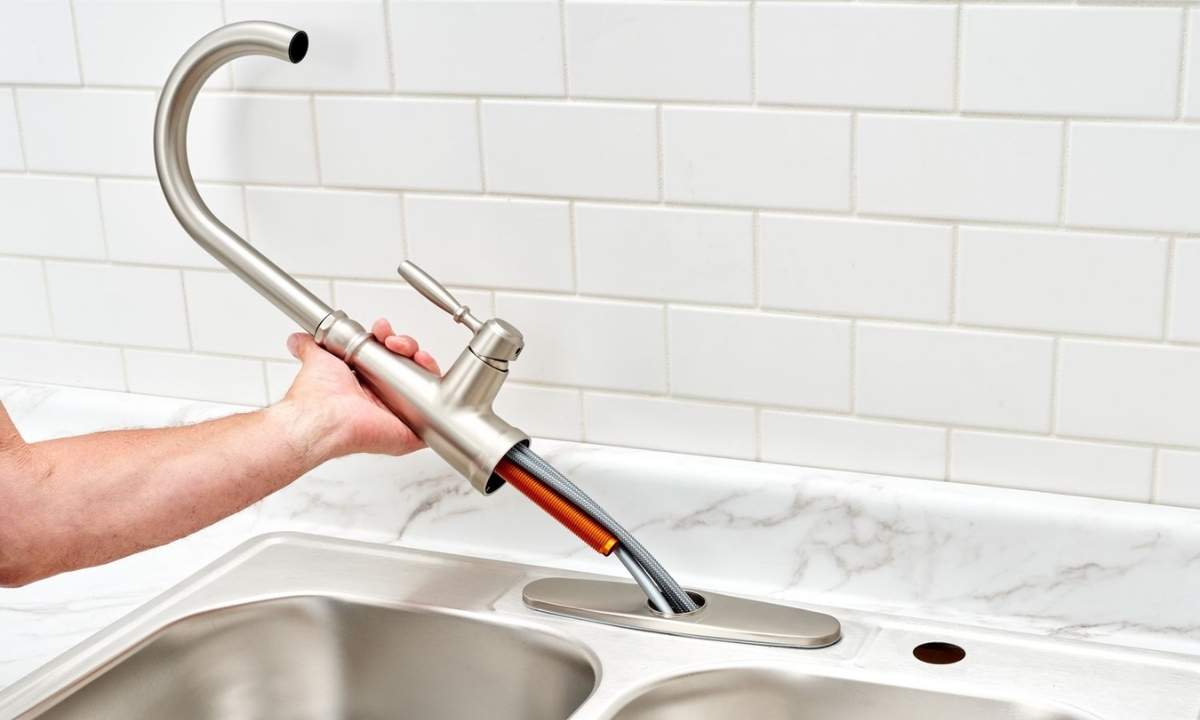
Replacing a kitchen faucet is one of the smartest home improvement projects you can tackle on a weekend. It does not require a licensed plumber, it costs very little if you do it yourself, and the result is instantly noticeable. Whether your old faucet is dripping constantly, losing water pressure, or just looking worn out, this guide walks you through everything you need to know from start to finish.
Most homeowners complete this job in one to two hours. With the right tools and clear instructions, you can do it too.
Why Replace Your Kitchen Faucet
Before jumping into the steps, it helps to understand when replacement is the better choice over repair.
You should replace your kitchen faucet if:
- The faucet is leaking around the base or handle even after tightening
- Water pressure has dropped significantly
- There is visible rust, corrosion, or mineral buildup that will not clean off
- The faucet is more than 10 to 15 years old and parts are hard to find
- You are remodeling the kitchen and want a fresh look
Minor issues like a dripping spout or a loose handle can often be fixed with a new cartridge or O-ring. But if your faucet is old or structurally worn, full replacement is smarter and more cost-effective in the long run.
Tools and Materials You Will Need
Gather everything before you start. Running back and forth to the hardware store mid-project wastes time and causes frustration.
| Tool or Material | Purpose |
| Adjustable wrench | Loosening and tightening supply lines |
| Basin wrench | Reaching nuts in tight spaces under the sink |
| Slip-joint pliers | Gripping and turning fittings |
| Bucket or towels | Catching residual water |
| Plumber’s tape (Teflon tape) | Sealing threaded connections |
| Silicone caulk | Sealing the faucet base to the sink deck |
| Flashlight or headlamp | Seeing clearly under the sink |
| New kitchen faucet | The replacement fixture |
| New supply lines | Often included with the faucet |
| Penetrating oil (optional) | Loosening stuck or rusted mounting nuts |
Choosing the Right Replacement Faucet
Before buying, check how many holes your sink has. Most kitchen sinks have one, two, three, or four holes. This determines which faucet types will fit.
- Single hole sinks work with single-handle faucets
- Three-hole sinks fit traditional two-handle faucets or single-handle faucets with a deck plate
- Four-hole sinks allow for extra accessories like a side sprayer or soap dispenser
If you want to switch from a two-handle to a single-handle faucet, buy one that comes with a deck plate (also called an escutcheon). This plate covers the extra holes neatly without drilling or filling anything.
Popular faucet styles to consider include pull-down, pull-out, touchless, and bridge faucets. Pull-down models are the most popular for busy kitchens right now because of their flexibility and ease of use.
How to Replace Kitchen Faucet: Step by Step
Step 1: Turn Off the Water Supply
Get under the sink and locate the hot and cold shut-off valves. Turn them clockwise until they stop. If you do not have shut-off valves under the sink, turn off the main water supply to your home.
After closing the valves, turn on the faucet to release any remaining water pressure. Let it run until nothing comes out. Have a bucket and old towels ready because some water will still drip from the lines when you disconnect them.
Step 2: Disconnect the Supply Lines
Use your adjustable wrench to unscrew the supply lines from the shut-off valves. Then disconnect them from the bottom of the faucet. A basin wrench is very helpful here if the connections are deep inside a tight cabinet.
Keep that bucket underneath to catch leftover water sitting in the lines.
Step 3: Remove the Old Mounting Hardware
Under the sink, locate the mounting nut or nuts holding the faucet in place. Use your basin wrench to loosen and remove them. This is often the hardest part of the whole job, especially on older faucets where the nuts may be corroded.
If the nuts will not budge, spray penetrating oil on them, wait 15 to 20 minutes, and try again. Be patient here. Forcing it without penetrating oil can strip the nut or damage the sink deck.
Step 4: Pull Out the Old Faucet
Once the mounting hardware is removed, go back up top and pull the old faucet straight out. You will likely find a ring of old putty, sealant, or grime around the base. Scrape this away with a putty knife and clean the area thoroughly with a damp cloth before installing the new faucet.
Step 5: Prepare and Set the New Faucet
Read the manufacturer’s instructions that come with your new faucet. Installation steps can vary slightly by brand and model.
If your faucet comes with a rubber gasket on the base, you may not need any sealant. If it does not, apply a thin bead of silicone caulk around the base plate before placing it down.
For a three-hole sink with a single-handle faucet, place the deck plate first. Align it with the holes and press it into position. Then feed the faucet supply lines and any hoses through the center hole.
Step 6: Tighten the Mounting Hardware
From underneath, thread the mounting nut onto the faucet tailpiece by hand. Then use your basin wrench to tighten it firmly. Do not overtighten. Snug is enough. Over-tightening can crack the sink deck or damage the gasket.
If the faucet has a pull-down sprayer, connect the hose and add the counterweight that keeps the hose retracted. Follow the instructions that came with your faucet for this part.
Step 7: Connect the New Supply Lines
Wrap plumber’s tape around the threads of the shut-off valve connections before attaching the supply lines. This ensures a tight, leak-free seal.
Hand-tighten the supply lines onto the shut-off valves first, then give them a quarter to half turn with your wrench. Avoid using too much force because modern supply lines use braided stainless steel fittings that seal well without excessive tightening.
Step 8: Turn the Water Back On and Test
Before turning the water on, dry all the connections completely with a paper towel so you can easily spot any drips.
Turn the shut-off valves back on slowly, counterclockwise. Open the faucet and let it run for about a minute to flush out any debris from the new lines. Turn it off, then inspect every connection point carefully. Use a dry paper towel to wipe each joint and check for any moisture.
If you see a drip, turn off the water and tighten that connection slightly. A small amount of extra plumber’s tape often solves slow seeps around threaded fittings.
Step 9: Install the Aerator or Spray Head
Once everything looks good and there are no leaks, screw the aerator or spray head back onto the spout. Run the water again for another minute to clear any remaining debris from inside the faucet body. Your new faucet is ready to use.
Must Read: How to Unclog Kitchen Sink: 7 Easy DIY Methods That Actually Work
Common Problems and How to Fix Them
| Problem | Likely Cause | Solution |
| Mounting nut will not loosen | Corrosion or mineral buildup | Apply penetrating oil, wait 15 minutes, then retry |
| Water drips after installation | Loose supply line connection | Tighten connection or add plumber’s tape |
| Faucet wobbles on the sink | Mounting nut not tight enough | Tighten the mounting nut from underneath |
| Extra holes showing after install | Wrong faucet for sink configuration | Install a deck plate to cover unused holes |
| Low water pressure after install | Aerator clogged with debris | Remove and rinse the aerator screen |
DIY vs. Hiring a Plumber: Cost Comparison
If you do the job yourself, you pay only for the faucet and any supplies you do not already own. A basic faucet starts around $50, while mid-range models with pull-down sprayers typically run $100 to $300. High-end or touchless models can reach $400 or more.
Hiring a professional plumber adds labor costs. Most plumbers charge $45 to $200 per hour, and a standard faucet replacement takes one to two hours. Total professional installation often runs between $150 and $480 depending on your location and the complexity of the job.
If you are comfortable with basic tools and can follow instructions, doing it yourself is absolutely manageable and saves you real money.
When to Call a Professional
While this is a beginner-friendly project, there are situations where calling a plumber is the smarter move:
- Your shut-off valves are corroded and will not close fully
- You discover damaged or leaking pipes under the sink
- The sink deck needs new holes drilled for a different faucet configuration
- Water continues to leak no matter how much you tighten the connections
- You are installing a smart or touchless faucet that requires electrical work
Frequently Asked Questions
How long does it take to replace a kitchen faucet?
Most DIYers finish in one to two hours. Beginners may take up to three hours, especially if the old faucet is stuck or corroded.
Do I need a plumber to replace a kitchen faucet?
No. Replacing a kitchen faucet is a beginner-level DIY job that most homeowners can do with basic tools and clear instructions.
What tools do I need to replace a kitchen faucet?
You need an adjustable wrench, basin wrench, slip-joint pliers, plumber’s tape, silicone caulk, a bucket, and towels.
Can I replace a two-handle faucet with a single-handle faucet?
Yes. Use a deck plate (escutcheon) that comes with most single-handle faucets to cover the extra mounting holes in a three-hole sink.
How do I know if my new faucet is installed correctly?
Turn the water back on slowly, let it run for a minute, then dry all connections and check for any moisture. No drips means a successful installation.
Final Thoughts
Replacing a kitchen faucet is one of those home improvement tasks that looks intimidating until you actually do it. With the right tools, a quality replacement faucet, and these step-by-step instructions, most homeowners handle it in a couple of hours without any special plumbing skills.
The improvement in both function and appearance makes it completely worth the effort. Take your time, follow each step carefully, and do not skip the leak check at the end.