
Nothing ruins a cookout faster than biting into food that tastes like last month’s burnt grease. A dirty grill doesn’t just affect flavor. It creates real fire hazards and health risks most people never think about.
Whether you own a gas grill or a classic charcoal setup, knowing how to clean a grill properly is the single best thing you can do for your BBQ game this summer.
Why Regular Grill Cleaning Is Important
Grease builds up fast. After just a few cooks, that buildup becomes a legitimate fire hazard. According to the NFPA, grills cause an average of 10,600 home fires per year in the US, and failure to clean is one of the leading causes.
Beyond safety, a dirty grill transfers old carbon, bacteria, and stale grease directly onto your food. That affects taste, smell, and honestly, it’s just not sanitary. Clean grills also run more efficiently, meaning your propane or charcoal goes further. A well-maintained grill can last 10 to 15 years. A neglected one? Maybe five.
Signs Your Grill Needs a Deep Clean
Sometimes it’s obvious. Other times, your grill is quietly telling you it needs attention.
Watch for these warning signs:
- Excessive flare-ups during cooking
- Food sticking even after oiling the grates
- A strong burnt or rancid smell when heating up
- Visible rust on the grates or interior walls
- Uneven heat distribution across the cooking surface
- An overflowing or crusted drip tray
- Black flakes falling onto your food
If two or more of these sound familiar, a deep clean is overdue.
How to Clean a Grill Step by Step
Before you dive in, gather your supplies. Having everything ready saves time and makes the whole process smoother.
| Tool | Purpose |
| Stiff grill brush (bristle-free) | Scrubbing grates safely |
| Putty knife or scraper | Removing caked grease |
| Dish soap and warm water | Breaking down grease |
| Rubber gloves | Protecting your hands |
| Microfiber cloth or paper towels | Wiping surfaces clean |
| Aluminum foil | DIY scrubbing pad backup |
Preheat the Grill to Loosen Grease
Start with heat. Crank your gas grill to high for 15 minutes with the lid closed. For charcoal, let the coals burn hot before you start cleaning. Heat carbonizes grease and leftover food particles, making them far easier to scrub away. This one step cuts your cleaning time in half. Just don’t touch the grates bare-handed afterward.
Scrub the Grill Grates Thoroughly
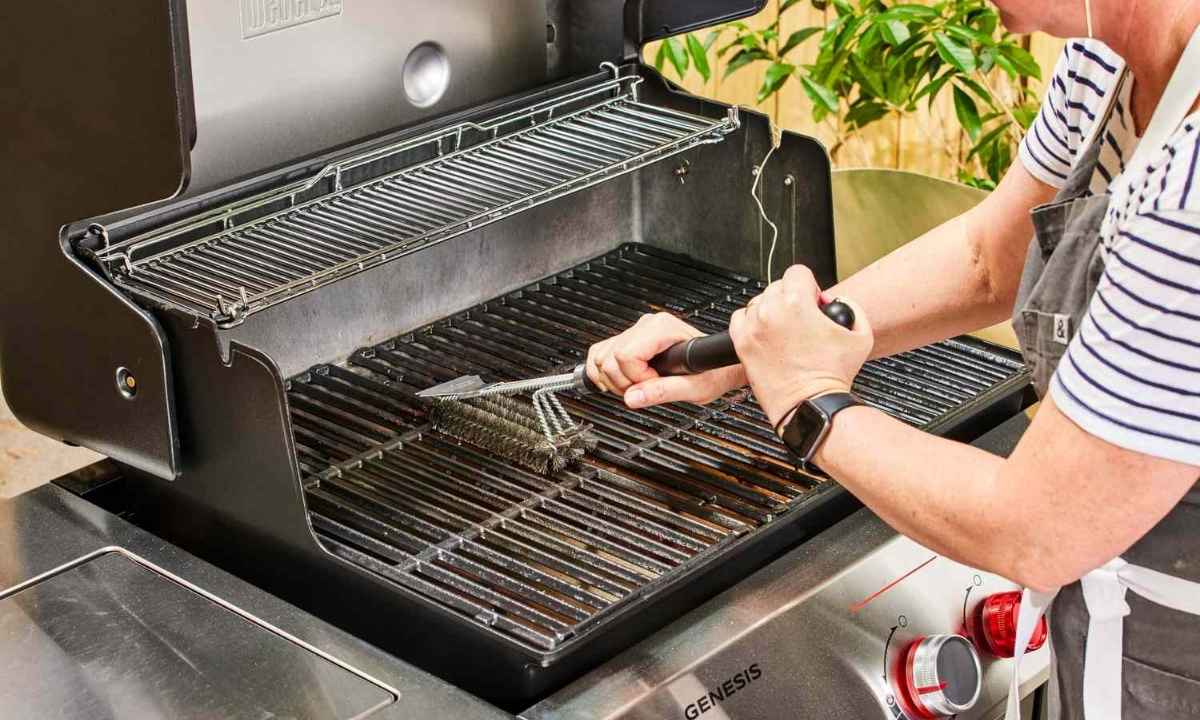
Once hot, scrub using firm back-and-forth strokes. Avoid circular motions since they’re less effective. If you don’t have a brush handy, crumple aluminum foil into a ball and use tongs to scrub. It works surprisingly well.
One important note: the FDA has flagged wire bristle brushes as a health hazard. Loose bristles can embed in food and cause serious injury. Stick with a coil-style or bristle-free brush for safety.
After scrubbing, wipe the grates with a damp cloth. Finish by rubbing a thin layer of vegetable oil onto the grates to season them and prevent future sticking.
Clean Burners and Heat Plates
This step applies to gas grills specifically. Use a soft brush or pipe cleaner to clear any debris from the burner ports. Blocked ports cause uneven heating and dangerous gas buildup. Wipe the heat plates (also called flame tamers) with warm soapy water and check for rust or warping while you’re at it. Never spray water directly onto the burners themselves.
Empty and Wash the Drip Tray
The drip tray is the most neglected part of any grill and one of the most dangerous. A clogged grease trap is a fire waiting to happen. The CPSC consistently lists grease tray fires among the top causes of grill-related incidents.
Remove the tray, dispose of the grease in a sealed container (never down the drain), scrub with hot soapy water, rinse thoroughly, and dry it completely. Pro tip: line the tray with aluminum foil and swap it out every few cooks for a much easier cleanup routine.
You May Also Like: How to Clean Nespresso Machine
How to Clean a Gas Grill Safely
Always disconnect the propane tank first. No exceptions. Then work from top to bottom: lid interior, cooking grates, heat plates, burners, drip tray, and finally the exterior cabinet.
The lid interior collects a thick layer of carbon that looks like peeling paint. Scrape it with a putty knife and wipe clean. Tackle the exterior with warm soapy water and a microfiber cloth. Stainless steel panels respond well to a dedicated stainless steel cleaner applied in the direction of the grain.
Before reassembling, check all gas connections for leaks using soapy water. If bubbles appear around a fitting, don’t use the grill until it’s repaired.
How to Clean a Charcoal Grill After Use
Charcoal grills require patience. Never dispose of ash until it’s completely cold, which takes at least 48 hours. Hot ash in a trash bag has caused house fires. Once cool, dump the ash into a metal container with a tight lid before discarding.
Scrub the grate while it’s still warm from the cook since residue lifts more easily. Clean the bowl and lid with warm soapy water, then dry everything thoroughly. Cast iron grates need a light coat of cooking oil after cleaning to prevent rust from forming overnight.
How to Deep Clean Grill Grates Naturally
Not everyone wants to use chemical cleaners near their food. Totally fair. These natural methods work just as well for regular maintenance.
| Method | What You Need | How It Works |
| Vinegar soak | White vinegar and water (50/50) | Acid breaks down grease and carbon |
| Baking soda paste | Baking soda plus dish soap plus water | Abrasive action lifts stubborn buildup |
| Onion hack | Half a raw onion | Natural acids clean and deodorize hot grates |
| Lemon and salt scrub | Lemon juice plus coarse salt | Cuts grease while scrubbing gently |
For the vinegar soak, submerge grates in the solution for 30 minutes to an hour. Scrub afterward and rinse clean. The baking soda paste works best on really stubborn spots. Apply, let it sit for 20 minutes, then scrub with a brush.
Best Homemade Solutions to Clean a Grill
DIY cleaners save money and keep harsh chemicals away from your cooking surface. Here are the most effective ones:
“A 50/50 mix of white vinegar and water in a spray bottle is probably the most versatile grill cleaning tool most people never think to use.” This simple mix handles grease on grates, interior walls, and even the exterior casing.
For heavy buildup, mix half a cup of baking soda with a few drops of dish soap and enough water to form a thick paste. Apply it generously, let it sit, then scrub. Works beautifully on cast iron grates that have seen better days.
How to Remove Rust from Grill Grates
Rust is common, especially in humid states like Florida, Texas, and Louisiana. But it doesn’t always mean your grates are done.
Try these methods in order of intensity:
- Baking soda paste: scrub with a stiff brush, rinse, and dry immediately
- White vinegar overnight soak: submerge rusty grates, leave overnight, scrub in the morning
- Steel wool or fine sandpaper: for stubborn patches that soaking won’t shift
- Food-safe rust remover: use only products labeled safe for cooking surfaces
If rust has eaten through the metal or flakes off heavily when touched, replace the grates. Some rust is too far gone to reverse safely.
How Often Should You Clean Your Grill?
| Cleaning Task | Recommended Frequency |
| Brush grates | After every single use |
| Wipe down exterior | Weekly during grilling season |
| Full deep clean | Every 1 to 3 months |
| Complete disassembly clean | Once a year before grilling season opens |
Heavy users, meaning families grilling three or more times a week, should deep clean monthly. Occasional grillers can stretch it to every three months. Either way, always do a full seasonal clean before firing up for the first time in spring.
Common Grill Cleaning Mistakes to Avoid
Avoid these and you’ll save time, money, and maybe a trip to the ER.
- Using wire bristle brushes: loose bristles contaminate food and are a documented health hazard
- Cleaning a cold grill: grease bonds harder when cold, making scrubbing twice as difficult
- Using oven cleaner on grates: the chemicals are too harsh and leave toxic residue
- Pouring water on hot cast iron: thermal shock causes cracking
- Skipping the drip tray: the single most common cause of grease fires
- Not drying grates after washing: moisture causes rust to form overnight
Tips to Keep Your Grill Cleaner for Longer
Prevention beats cure every single time. Build these habits and your deep cleaning sessions become far less painful.
Oil your grates before every cook. Preheat every time. Line the drip tray with foil and swap it out regularly. Invest in a quality weatherproof cover and use it religiously. Brush the grates while still warm after cooking rather than leaving residue to harden overnight. These small habits genuinely add years to your grill’s life.
Conclusion
Knowing how to clean a grill properly means safer cookouts, better-tasting food, and a grill that lasts for years. Start small: brush your grates after every cook and empty that drip tray more often.
Build from there. Your grill works hard every time you fire it up. A little consistent care goes a long way. Now grab that brush, get cleaning, and make every BBQ this summer the best one yet.