
Whether you just finished painting a bedroom wall or touched up some trim, knowing how to clean paint brushes the right way is one of the most important skills any painter can have.
Skipping this step or doing it wrong leads to stiff, ruined bristles that cannot hold paint properly. The good news is that with the right method, cleaning your brushes takes only a few minutes and can make them last for years.
Why Proper Brush Cleaning Matters
Good quality paint brushes are not cheap. A well-made brush, treated with care, can handle dozens of projects without losing its shape or performance.
When paint dries inside the bristles or near the ferrule (the metal band that holds the bristles in place), the brush splits, loses its tip, and becomes useless. Regular brush maintenance protects your investment and gives you better results every time you paint.
What You Need Before You Start
Having the right supplies on hand makes the process faster and easier. Here is what you should gather:
- Warm water
- Mild dish soap or Murphy’s Oil Soap
- Mineral spirits or paint thinner (for oil-based paint)
- Denatured alcohol (for shellac-based coatings)
- Rubber gloves
- A brush comb or stiff plastic comb
- Paper towels or clean rags
- Two small containers or glass jars
How to Clean Paint Brushes Based on Paint Type
The cleaning method depends entirely on the type of paint you used. Using the wrong solvent can damage your brush or simply not work at all.
| Paint Type | Cleaning Solution |
| Latex or Acrylic | Warm water and dish soap |
| Oil-Based Paint | Mineral spirits or paint thinner |
| Shellac | Denatured alcohol |
| Chalk Paint | Warm soapy water |
Step-by-Step: Cleaning Latex and Acrylic Paint Brushes
Latex and acrylic are water-based paints, which makes cleanup much simpler compared to oil-based products.
- Scrape off excess paint by pressing the brush against the rim of the paint can or onto scrap paper. Remove as much wet paint as possible before rinsing.
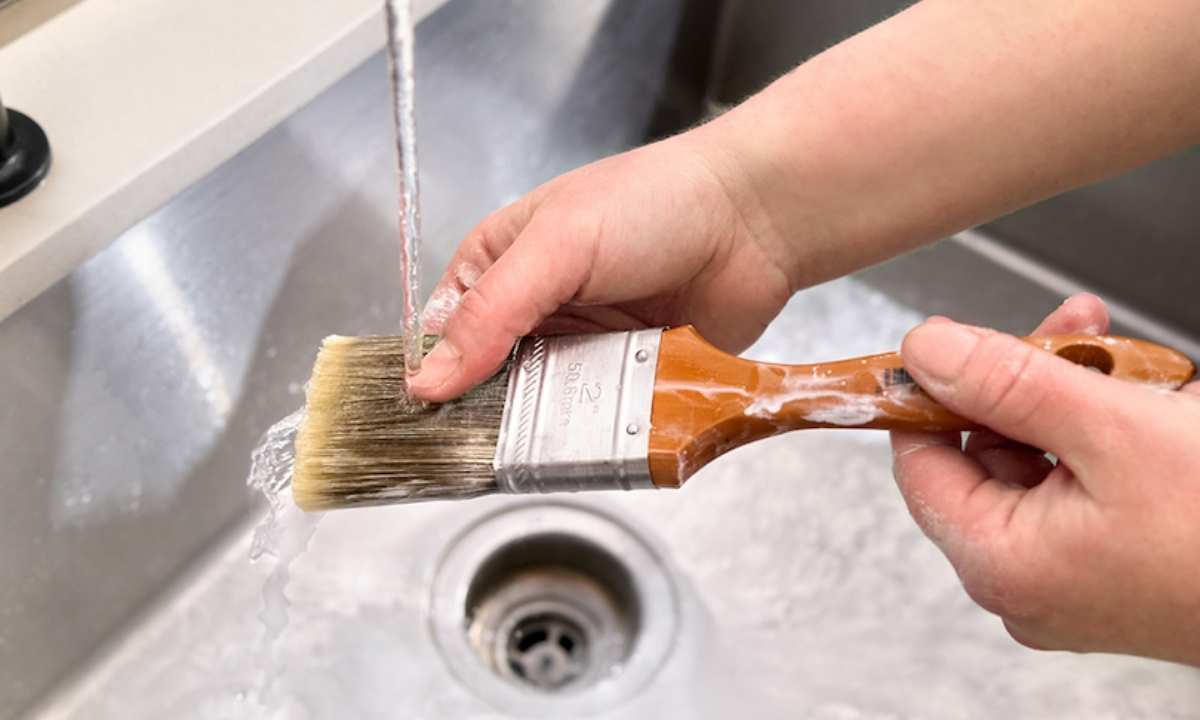
- Hold the brush with bristles pointing down and rinse under warm running water. Avoid letting water soak into the ferrule area.
- Add a few drops of dish soap directly onto the bristles. Work the soap through the bristles using your fingers in a gentle massaging motion.
- Rinse thoroughly until the water runs completely clear. If paint remains, repeat the soap step.
- Use a brush comb to straighten the bristles and remove any remaining paint trapped near the ferrule.
- Shake out excess water, reshape the bristles with your fingers, and lay the brush flat on a clean towel to dry.
Step-by-Step: Cleaning Oil-Based Paint Brushes
Oil-based paint requires a solvent because water alone will not break it down. Always work in a well-ventilated area and wear rubber gloves during this process.
- Scrape off as much paint as possible from the bristles before starting.
- Pour enough mineral spirits or paint thinner into a glass jar to fully cover the bristles.
- Dip the brush into the solvent and press the bristles against the bottom of the jar. Swirl and press repeatedly for 30 to 60 seconds.
- Wipe the brush on a clean rag to remove loosened paint. Repeat with fresh solvent if needed.
- Once most of the paint is removed, wash the brush with warm water and dish soap to remove solvent residue.
- Rinse thoroughly, reshape the bristles, and lay flat to dry.
Important: Never pour used mineral spirits down the drain. Let the paint solids settle to the bottom of the jar, then pour the clean solvent into a sealed container for reuse. Dispose of the solids at a proper hazardous waste location.
How to Clean Dried Paint Brushes
Forgot to clean your brush and now the bristles are stiff and crusty? Do not throw it out yet. There are several methods that can revive a hardened brush.
Vinegar Method (best for water-based dried paint):
- Soak the brush in distilled white vinegar for 1 to 2 hours.
- If bristles are still stiff, heat the vinegar in a pot, bring it to a gentle boil, and place the brush inside for 20 minutes.
- Let it cool completely, then comb out the bristles and rinse with warm soapy water.
Laundry Detergent Method: Mix one-third cup of laundry detergent with two-thirds cup of warm water. Soak the brush for 30 minutes or overnight for very stiff bristles. This method is known to work extremely well with minimal scrubbing.
Murphy’s Oil Soap Method: Soak the bristles in Murphy’s Oil Soap for 24 to 48 hours. This not only dissolves dried paint but also conditions the bristles, keeping them soft and flexible.
How to Store Paint Brushes Properly
Cleaning is only half the job. Storing brushes correctly protects their shape and keeps them ready for your next project.
- Never rest a brush on its bristles, as this permanently bends and ruins them.
- Always let the brush dry completely before storing.
- Lay brushes flat or hang them with bristles pointing downward while drying.
- Return each brush to its original packaging if you still have it. The cardboard sleeve holds the bristle shape during storage.
- If you do not have the original packaging, wrap the bristles in a paper towel or newspaper and secure with a rubber band.
Short-term storage tip: If you are taking a break between coats and do not want to clean the brush yet, wrap the bristles tightly in plastic wrap and place the brush in the refrigerator. This keeps the paint from drying for several hours or overnight.
Must Read: How to Clean Solar Panels – Complete Guide
Common Mistakes to Avoid
- Leaving paint to dry on the brush before cleaning
- Letting water soak into the ferrule, which can loosen the bristles over time
- Using mineral spirits on water-based paints (it does not work and can make things worse)
- Storing brushes bristle-side down in a jar of solvent for extended periods
- Using rubbing alcohol on brush bristles, as it can make them brittle
Frequently Asked Questions
Can I use vinegar to clean paint brushes?
Yes. White vinegar works well for removing dried latex or acrylic paint. Heat it for better results, but keep in mind it does not work on oil-based paints.
How do you clean paint brushes without paint thinner?
For water-based paints, warm water and dish soap are all you need. For oil-based paints, you can try baby oil or Murphy’s Oil Soap as a gentler alternative to mineral spirits.
How often should I clean my paint brushes?
Clean your brushes every time you finish painting. Never let paint sit and dry on the bristles.
Can you save a paint brush with dried paint on it?
In most cases, yes. Soaking in hot vinegar, laundry detergent solution, or Murphy’s Oil Soap can restore brushes that have dried paint on the bristles.
Should I wet my brush before painting?
Lightly dampening synthetic bristles with water before dipping them in latex paint can make cleanup easier and helps the paint spread more smoothly.
Conclusion
Learning how to clean paint brushes properly is one of the simplest ways to improve your painting results and save money over time. The key is to act quickly, use the right cleaning solution for your paint type, and store brushes in a way that protects their shape.
Whether you are dealing with fresh latex paint or a brush that has been sitting out for days, the methods above will help you get your brushes back in perfect working condition.