
Brass looks stunning when it gleams. But leave it alone for a few months and that warm golden glow fades into a dull, greenish mess. The good news? You don’t need expensive tools or a professional to fix it.
Whether you’re dealing with an old doorknob, a cherished candlestick, or inherited antique hardware, this guide walks you through exactly how to clean brass and restore that brilliant shine fast.
Step 1: Check if Your Brass Is Solid or Plated
Before you grab a single cleaning product, do this one thing first. Grab a magnet and hold it against your brass item. Solid brass won’t attract it at all. If the magnet sticks, you’re working with brass-plated metal, which needs a much gentler approach.
Why does this matter? Scrubbing brass-plated items with acidic cleaners strips the thin coating right off, leaving you with patchy, ruined metal underneath. Common plated items in American homes include light switch covers, cabinet pulls, and decorative fixtures.
Solid brass can handle more aggressive cleaning. Plated brass needs patience and soft cloths only.
Step 2: Gather Your Brass Cleaning Supplies
Here’s what’s great about cleaning brass: you probably already own everything you need.
Natural options:
- Half a lemon and table salt
- White vinegar mixed with flour and salt
- Plain ketchup (seriously, the acidity works)
- Baking soda paste
Commercial options:
| Product | Best For | Avg. Price |
| Brasso Metal Polish | General brass cleaning | $5 to $10 |
| Wright’s Brass and Copper Cream | Antiques and delicate items | $8 to $12 |
| Bar Keepers Friend | Heavy tarnish and buildup | $4 to $8 |
You’ll also want a few soft microfiber cloths, an old toothbrush, rubber gloves, and a small bowl. Skip the steel wool. It scratches brass permanently and ruins the surface finish.
Step 3: Remove Surface Dust and Dirt First
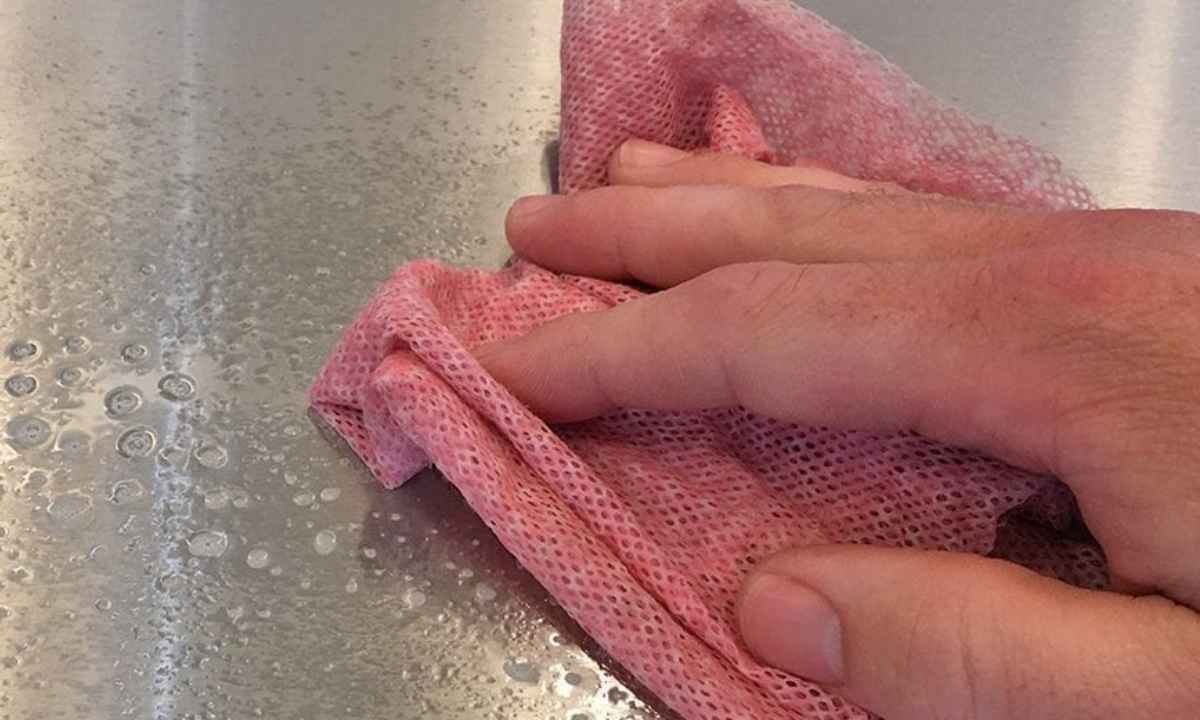
Don’t jump straight to scrubbing. Rubbing loose grit into brass scratches it before you even start cleaning. Wipe the piece down first with a dry cloth to lift dust, fingerprints, and loose debris.
For items with detailed engravings or intricate grooves, a dry paintbrush works better than a cloth. It gets into the small spaces without scratching.
Got sticky residue or grease? A quick wipe with mild dish soap and warm water handles that. Pat it completely dry right after. Leaving moisture sitting on brass speeds up tarnishing, which is the opposite of what you want.
Step 4: Apply Your Brass Cleaning Solution
Now the real work begins. Choose your cleaning method based on how tarnished the piece is.
For light tarnish, the lemon and salt method is fast and effective. Squeeze half a lemon, sprinkle salt directly onto the cut side, and rub it on the brass. Let it sit for about 5 to 10 minutes before moving on.
For heavy tarnish, mix equal parts white vinegar, flour, and salt into a thick paste. Spread it over the brass like you’re frosting a cake. Leave it for 10 minutes. The flour helps the mixture cling to the surface while the vinegar does the heavy lifting.
For commercial cleaners, apply with a soft cloth in small sections. Always follow the label instructions. One thing to never use on brass is bleach. It aggressively corrodes the metal and causes permanent discoloration.
Step 5: Gently Scrub Tarnished Areas
With your cleaner applied, grab a soft cloth and scrub using gentle circular motions. Work with the grain of the brass where possible. Don’t press hard. The cleaning solution is doing most of the work already.
For grooves, engravings, or hinge areas, switch to your old toothbrush. It reaches spots a cloth simply can’t.
Stubborn tarnish that won’t budge after one round? Apply the paste again and let it sit longer, up to 20 or 30 minutes. Repeat applications are more effective than scrubbing harder, which risks scratching the surface.
Here’s a quick breakdown by item type:
- Door handles: use a commercial cleaner since daily hand contact builds up oils fast
- Brass jewelry: use a lemon juice dab, rinse quickly, dry immediately
- Decorative figurines: vinegar paste plus toothbrush for detailed work
- Antique brass pieces: always start with the gentlest method first
Must Read: How to Clean Makeup Brushes Properly
Step 6: Rinse with Warm Water
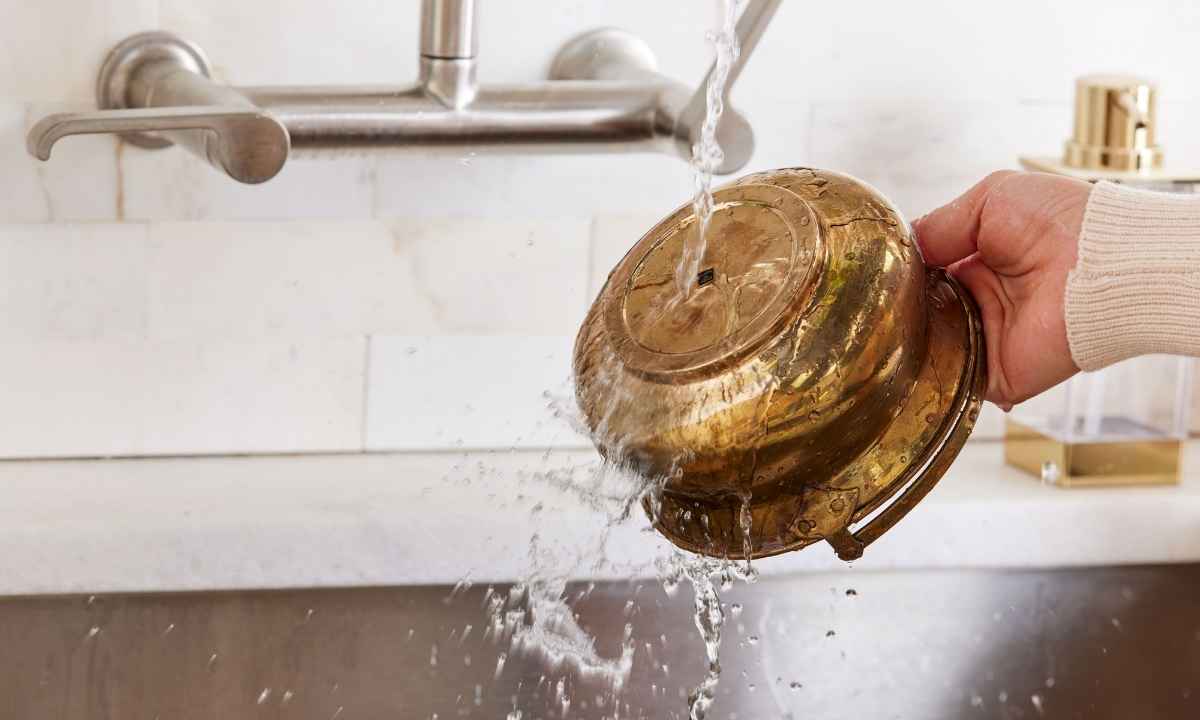
Once you’ve scrubbed, rinse thoroughly. Leftover acidic cleaner keeps reacting with the metal even after you stop scrubbing. That’s not what you want.
Use warm water, not hot. Hot water can cause thermal shock on older or more delicate brass pieces. For items fixed in place like door hardware, use a damp cloth to wipe away every bit of residue instead of running them under a tap.
For plated brass, rinse quickly and briefly. Don’t soak it. The longer water sits on plating, the faster it tarnishes again.
Step 7: Dry and Buff for Extra Shine
Pat the brass dry immediately with a clean cloth. Don’t rub while it’s still wet since that leaves water spots. Once it’s dry, grab a fresh microfiber cloth and buff using firm circular motions.
The friction from buffing generates a small amount of heat that brings out that deep, warm golden glow brass is known for. It’s a simple step but it makes a visible difference.
Want to push the shine even further? Apply a tiny amount of dedicated brass polish like Flitz or Brasso after buffing. Think of it like waxing a car after washing it. Same principle, same satisfying result.
Step 8: Protect Brass to Prevent Tarnish
Cleaning brass is effort well spent. Protecting it afterward means you won’t have to do it again anytime soon.
Apply a thin coat of paste wax like Renaissance Wax or Johnson’s Paste Wax after buffing. For decorative pieces that nobody touches, a clear lacquer spray from any US hardware store creates a long-lasting barrier against oxidation.
How often should you clean brass? Here’s a simple reference:
| Brass Item | Cleaning Frequency |
| Door handles and hardware | Monthly |
| Decorative figurines | Every 3 to 6 months |
| Brass jewelry | After each wear |
| Antique brass pieces | Every 6 to 12 months |
| Brass light fixtures | Every 2 to 3 months |
A few habits that help: wipe brass hardware weekly with a dry cloth, avoid touching decorative brass with bare hands since skin oils speed up tarnishing, and keep brass items away from high-humidity spaces like bathrooms or basements.
Frequently Asked Questions
Can you clean brass with toothpaste?
Yes, plain white toothpaste works as a mild brass cleaner for light tarnish removal.
Does WD-40 clean brass effectively?
WD-40 removes light tarnish and adds shine but works best as a short-term solution.
How do you clean brass that has turned black?
Apply a vinegar and salt paste, let it sit, then scrub gently with a toothbrush.
Is it safe to clean antique brass at home?
Yes, but always start with the gentlest method first to avoid damaging valuable pieces.
What is the fastest way to clean brass?
Ketchup applied directly for 10 minutes then wiped clean delivers surprisingly fast, effective results.
Conclusion
Cleaning brass doesn’t have to feel like a chore. With the right method and a little time, even the dullest, most tarnished piece comes back to life. Start with the magnet test, pick your cleaning solution, and work through each step.
The results speak for themselves. Got a brass piece collecting dust on a shelf somewhere? Grab a lemon. You’re closer to a brilliant shine than you think.